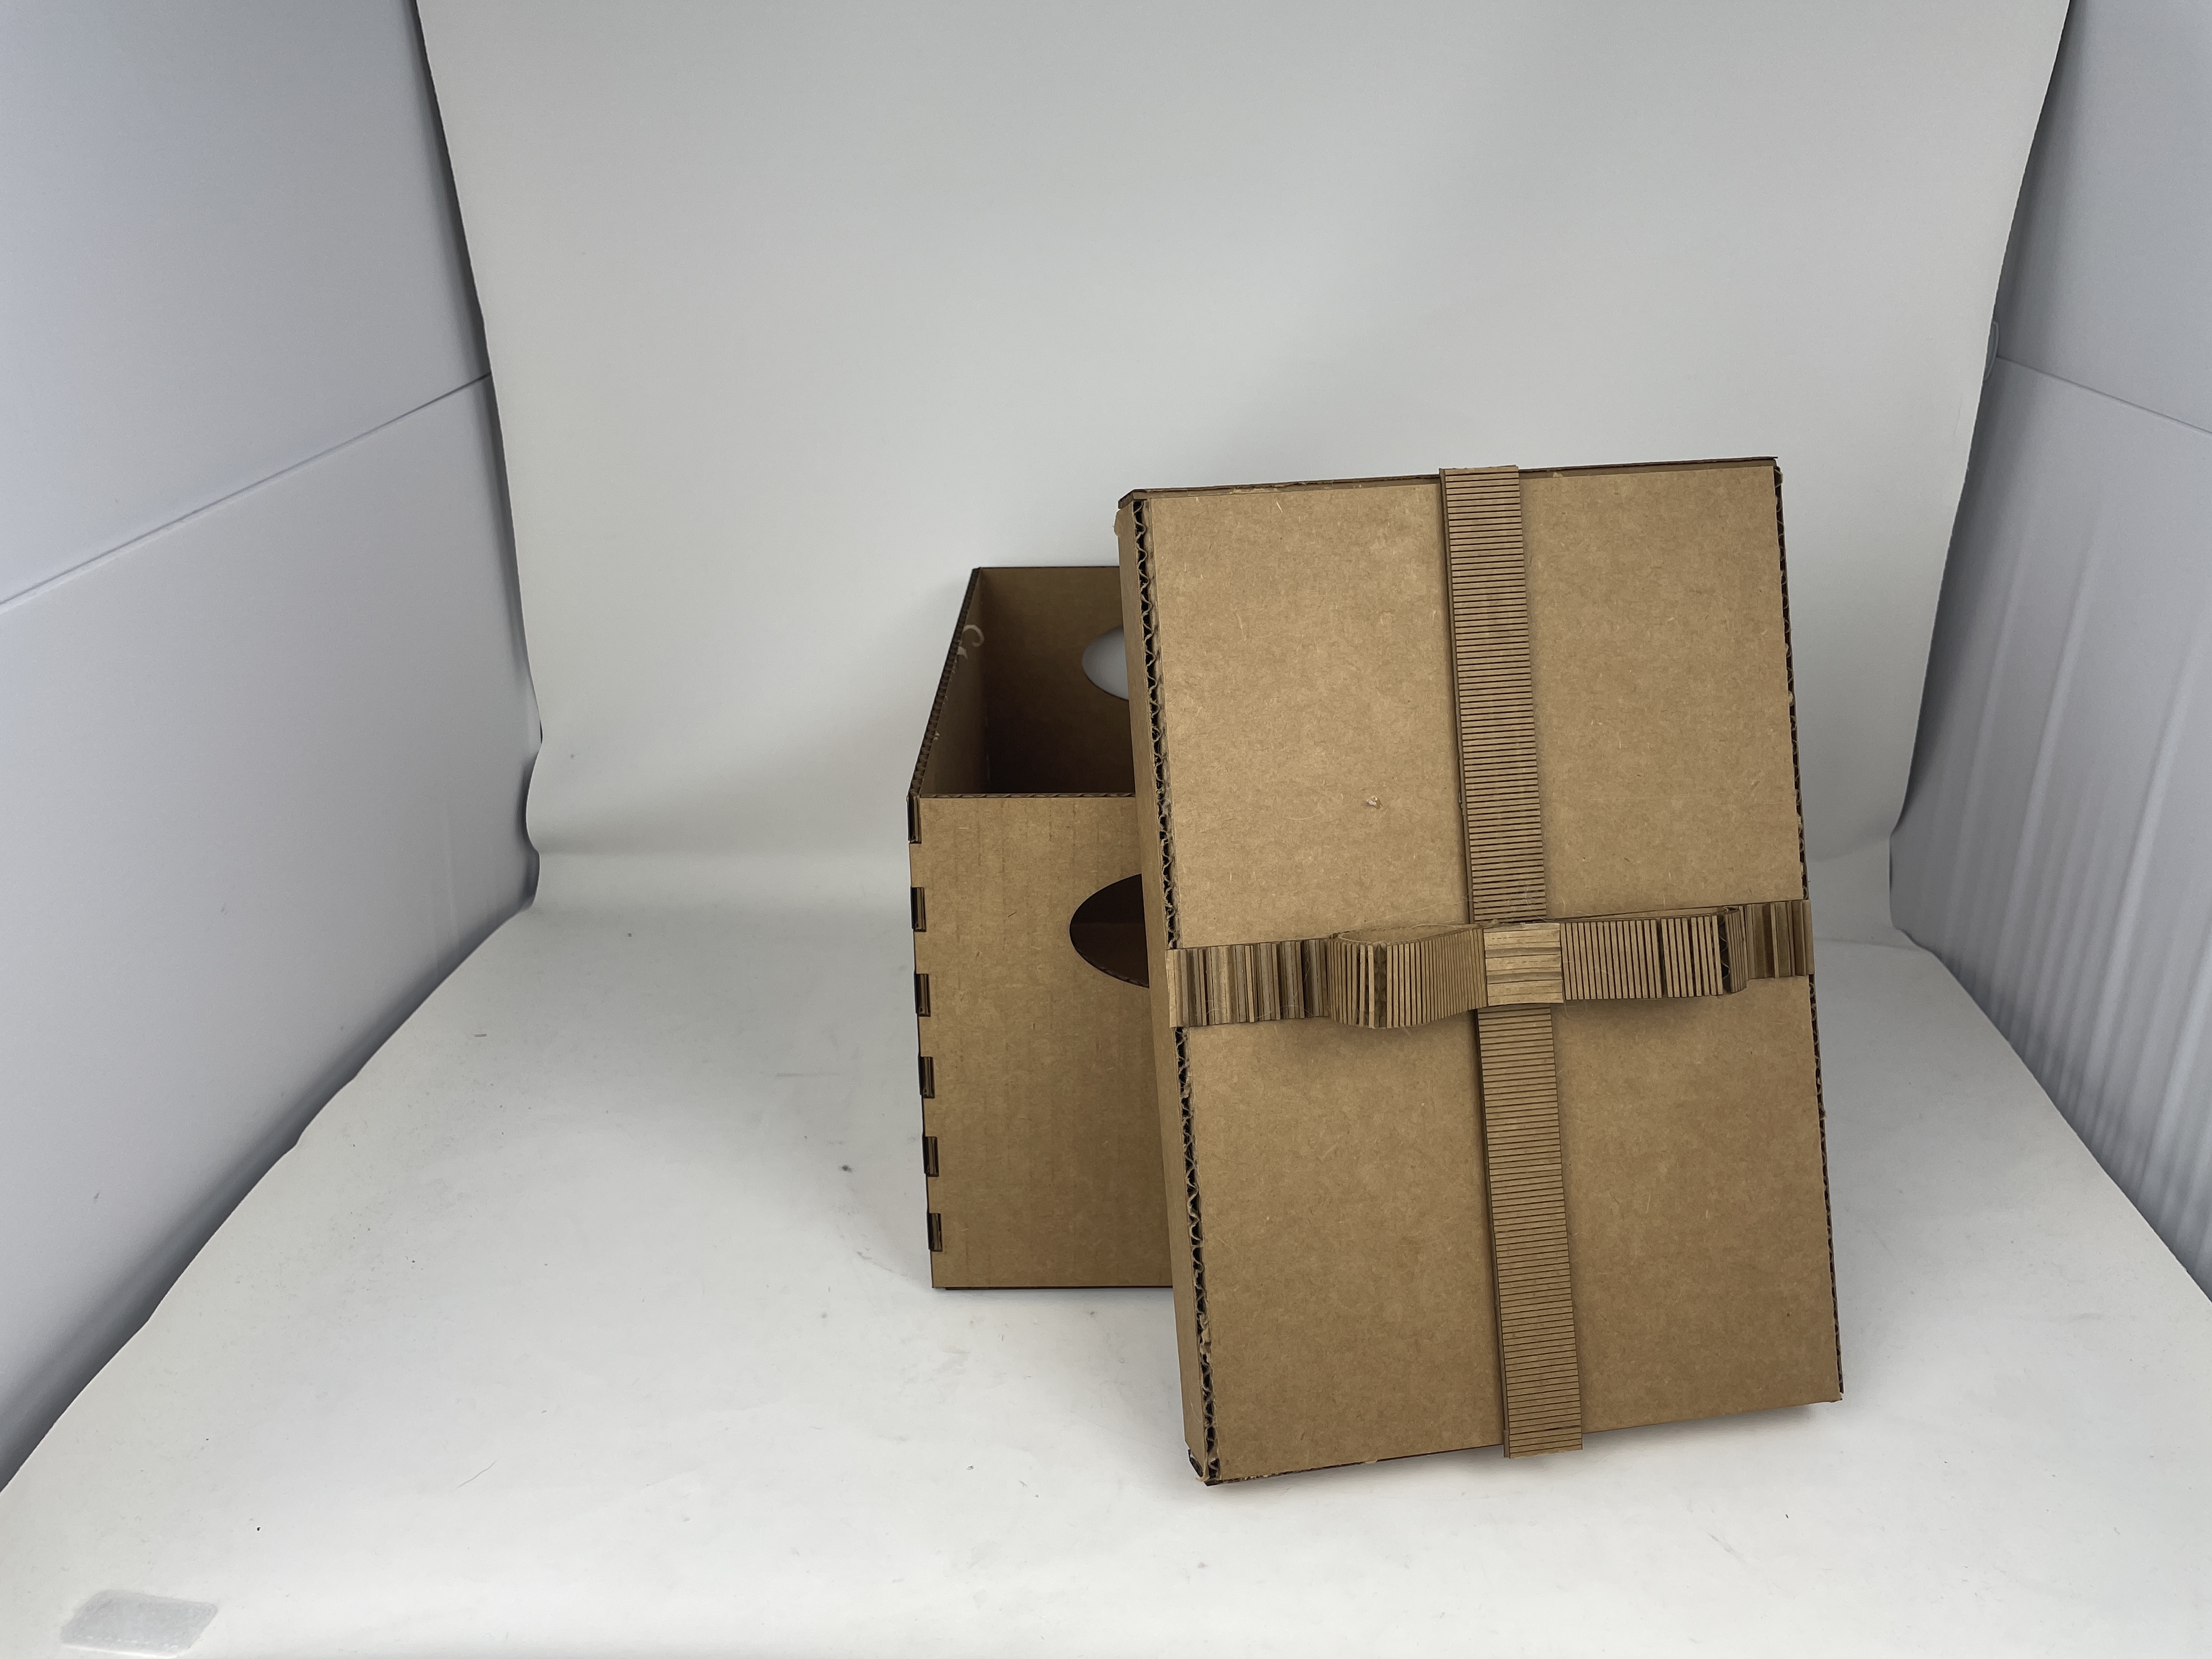
Assignment 1: Make a Box
This week we had to make a shoebox-sized box. I used the finger-joint box template from class to design my box, increasing parameters until it looked right. I had trouble getting the rectangular pattern to copy right after changing the num_fingers parameter, and I didn't actually figure it out, but I was able to redo the rectangular patterns by hand on each edge. I also had to remove the sides of the box so that it would fit in the laser cutter (I severely underestimated how much 20cm was, so the box was a bit larger than I initially expected).
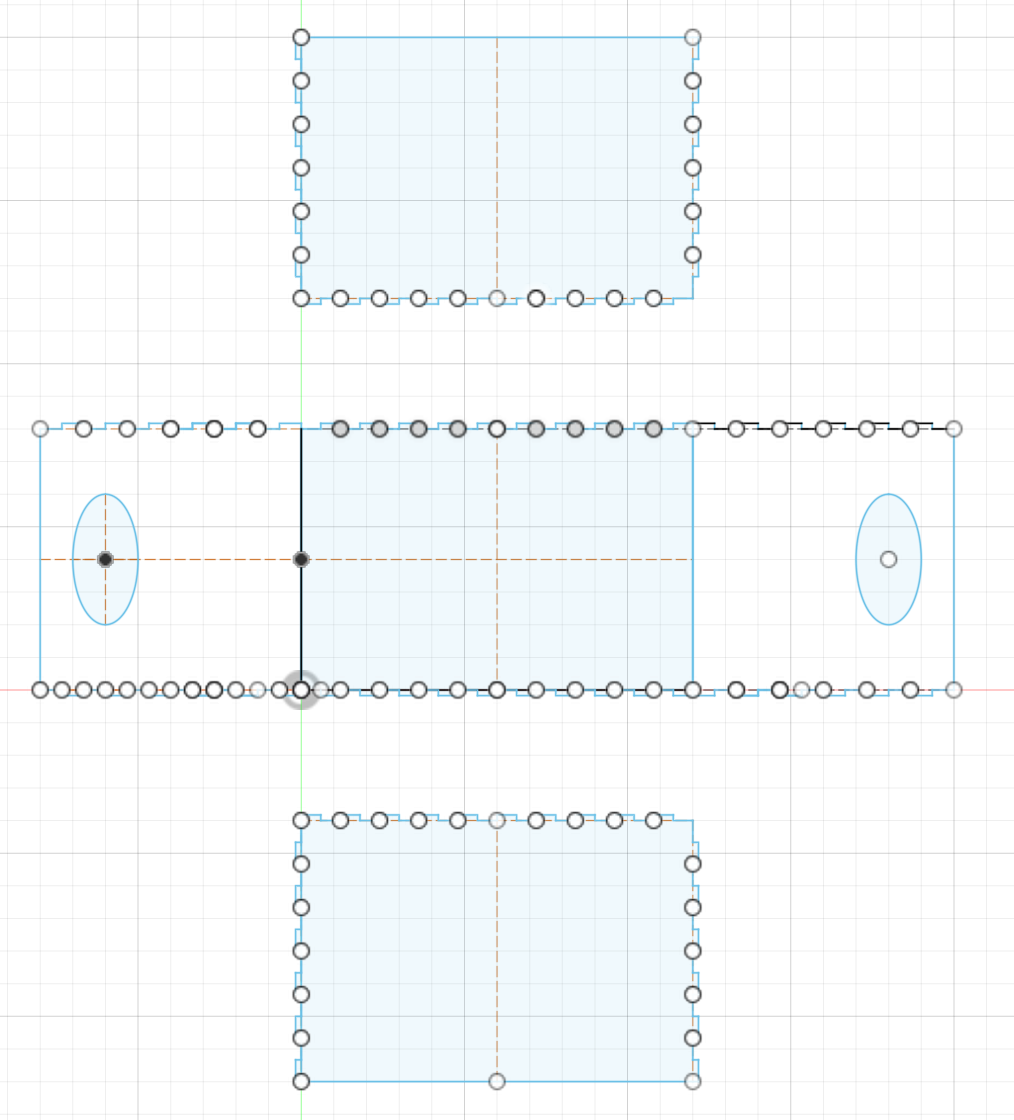
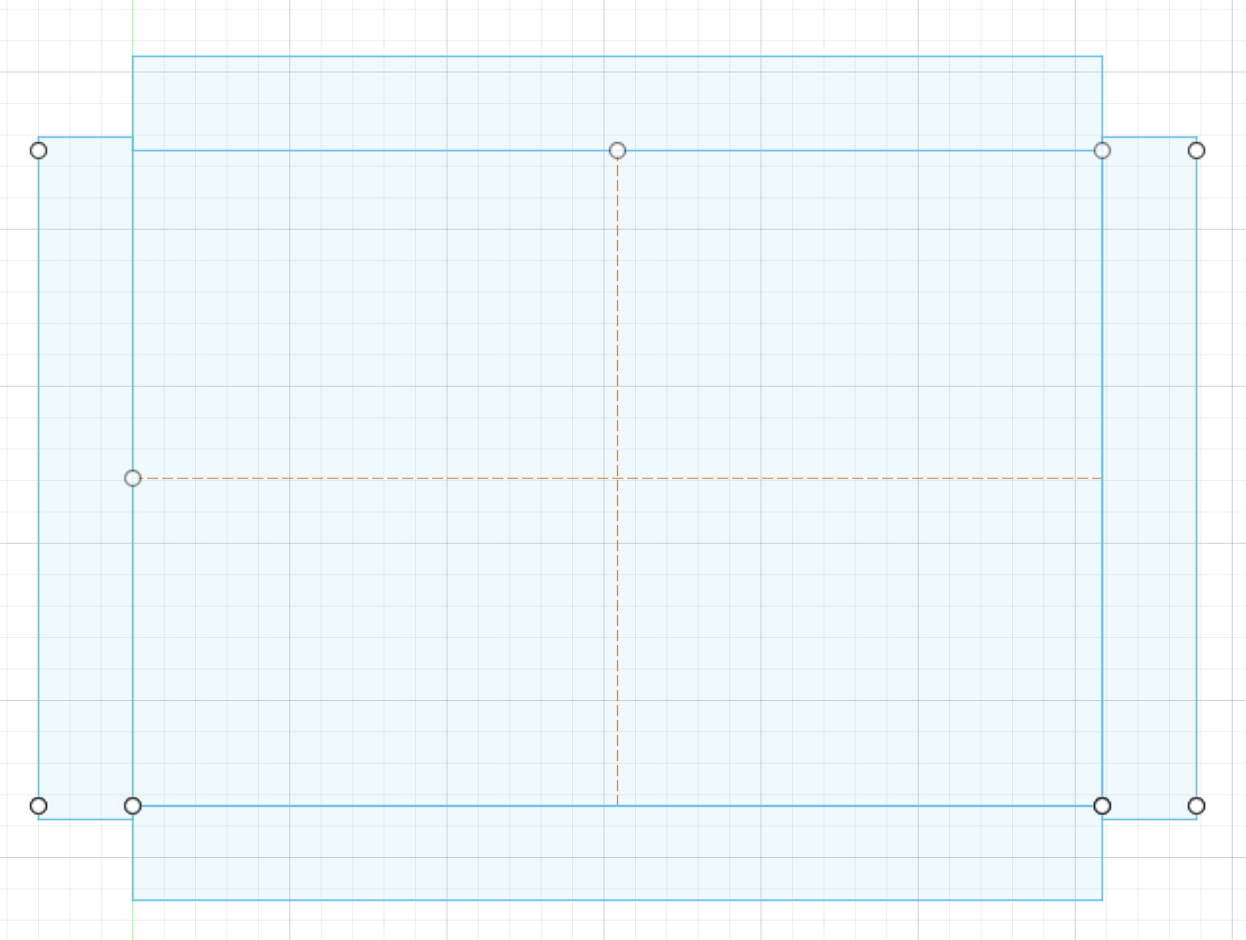
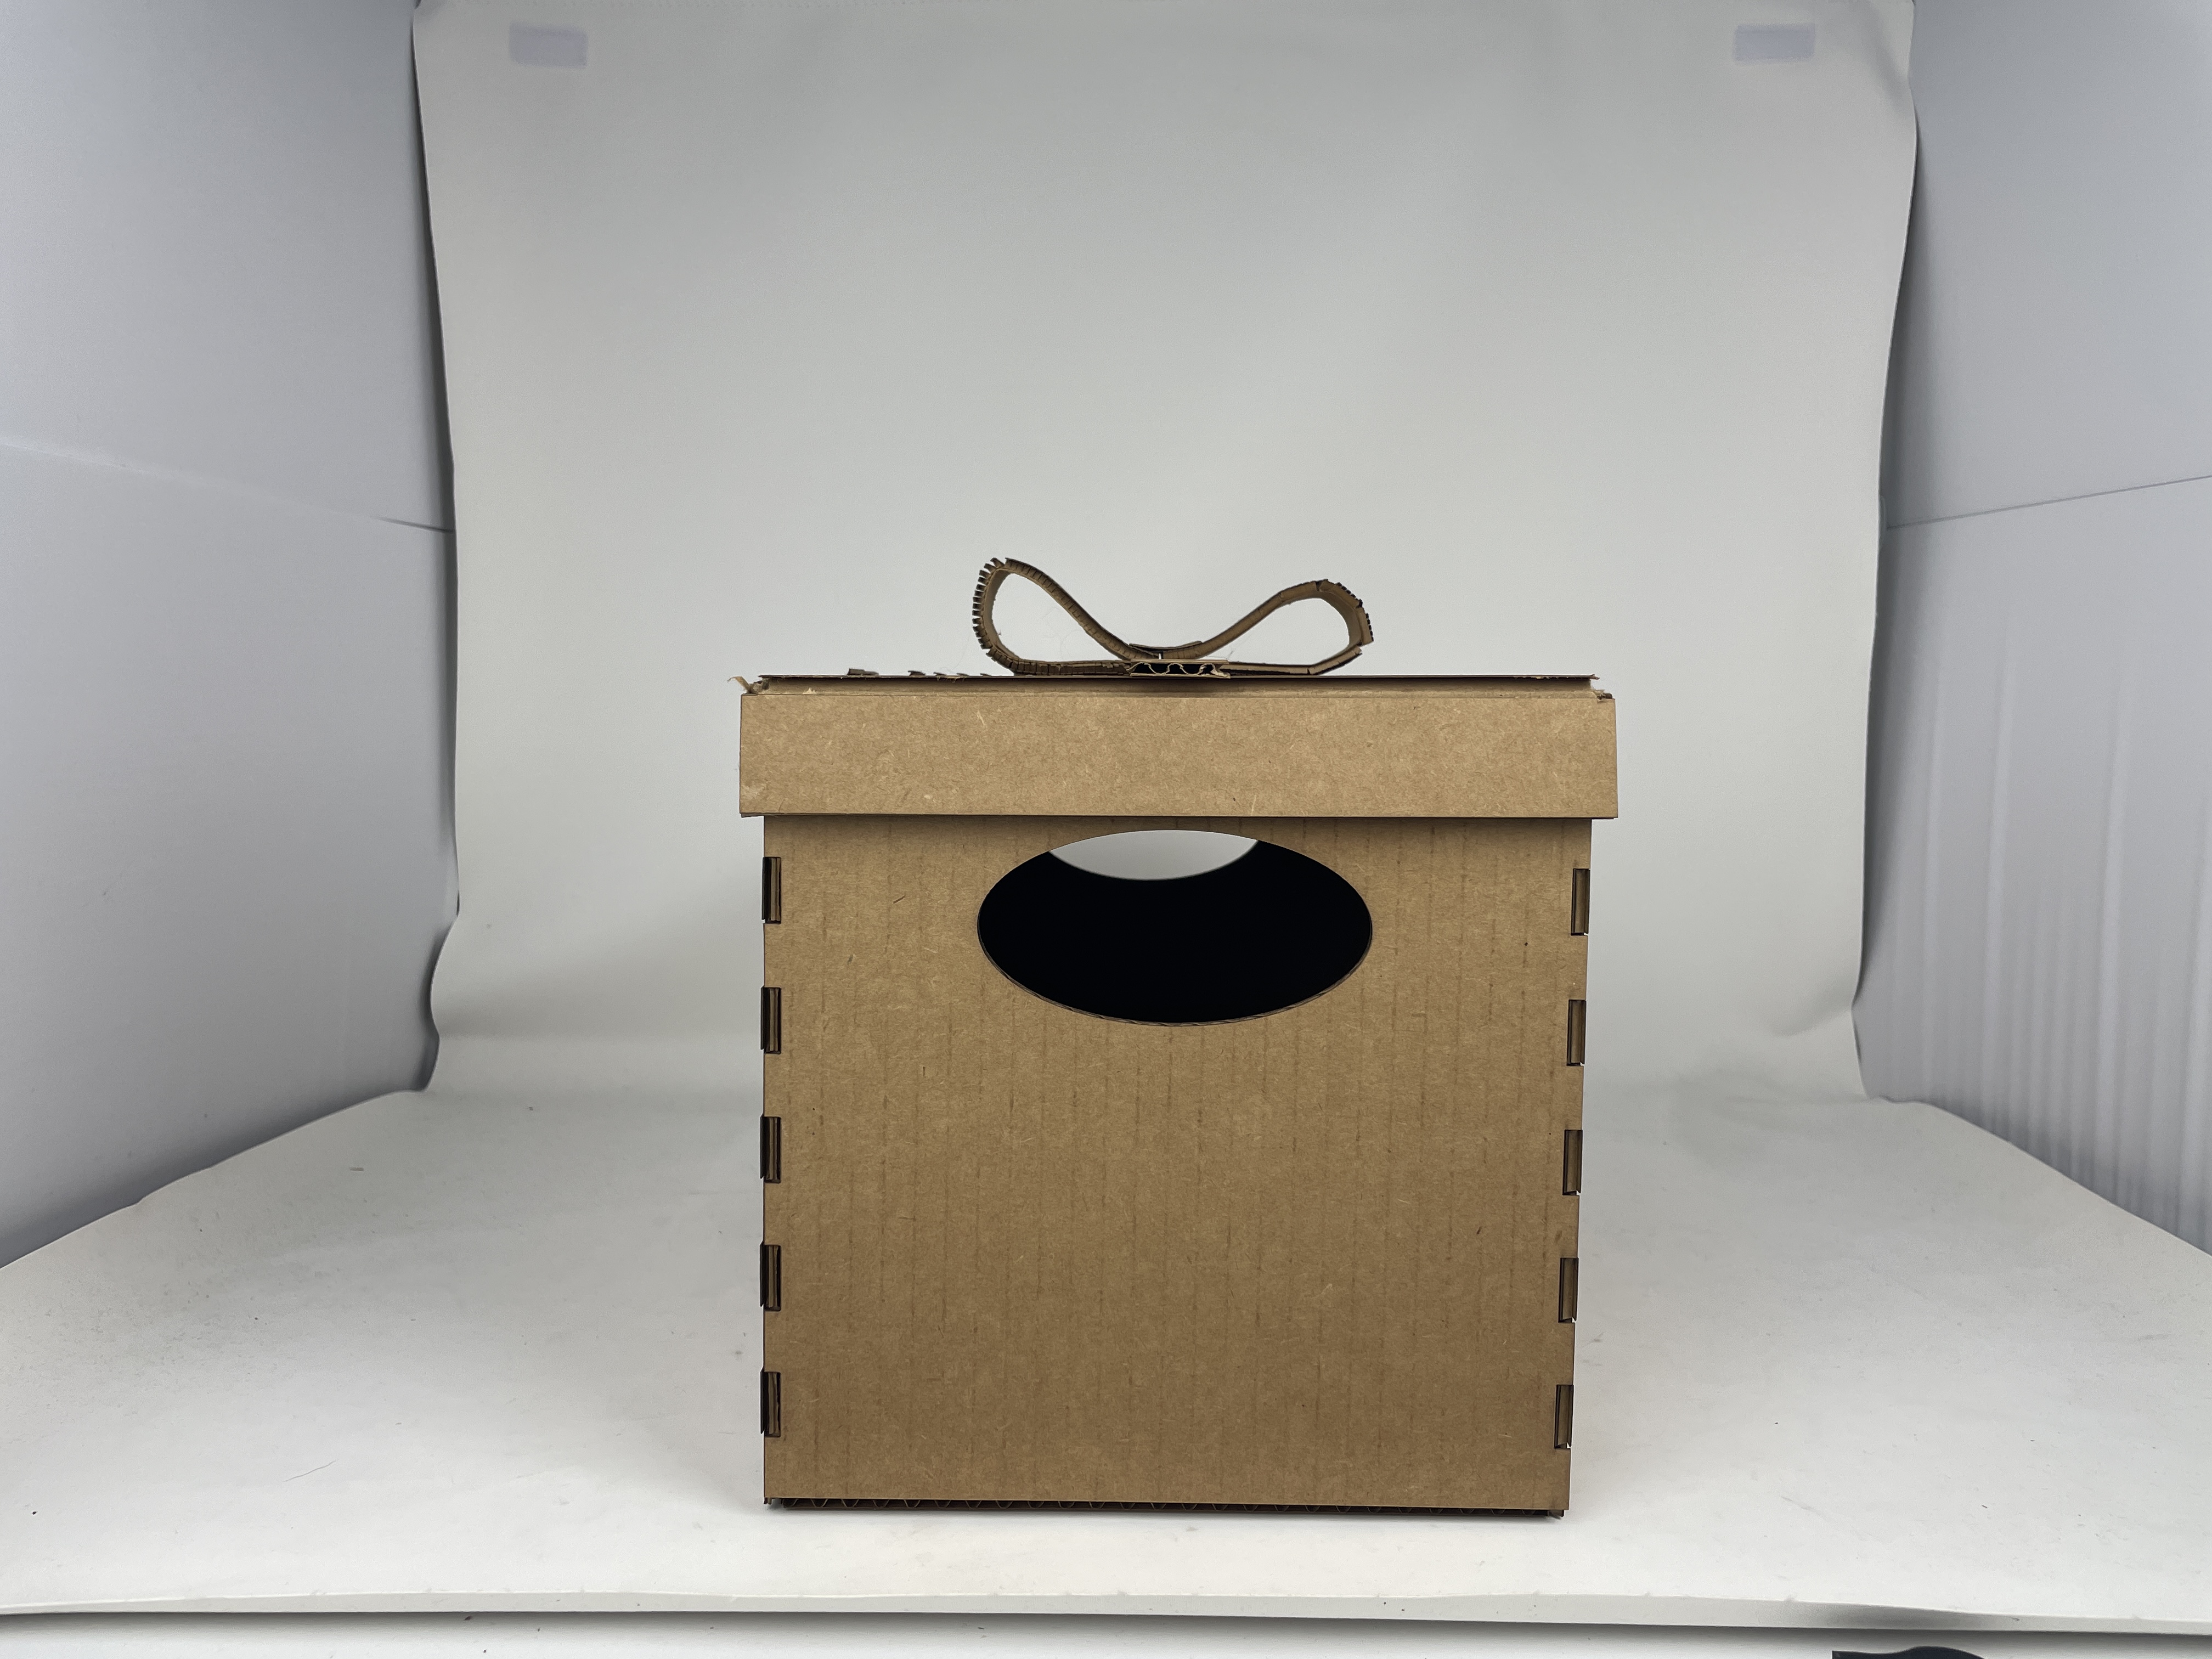
I also created a lid for the box, which was more nerve-wracking because I was worried it would be too tight. I set the width of the lid to be width + 2*thickness, and similarly for the length. Since I wanted the edges of the lid to fold up, and I wanted to hot-glue the remaining edges, I made the width-wise flaps slightly longer so the glued edges of the box would be flush (see below). This ended up working perfectly--there was a bit of extra give in the lid for a snug fit, as I used masking tape to get the exact angles of the lid before gluing things down. The hot glue was also surprisingly sturdy, so hopefully the lid won't pop open in the future.
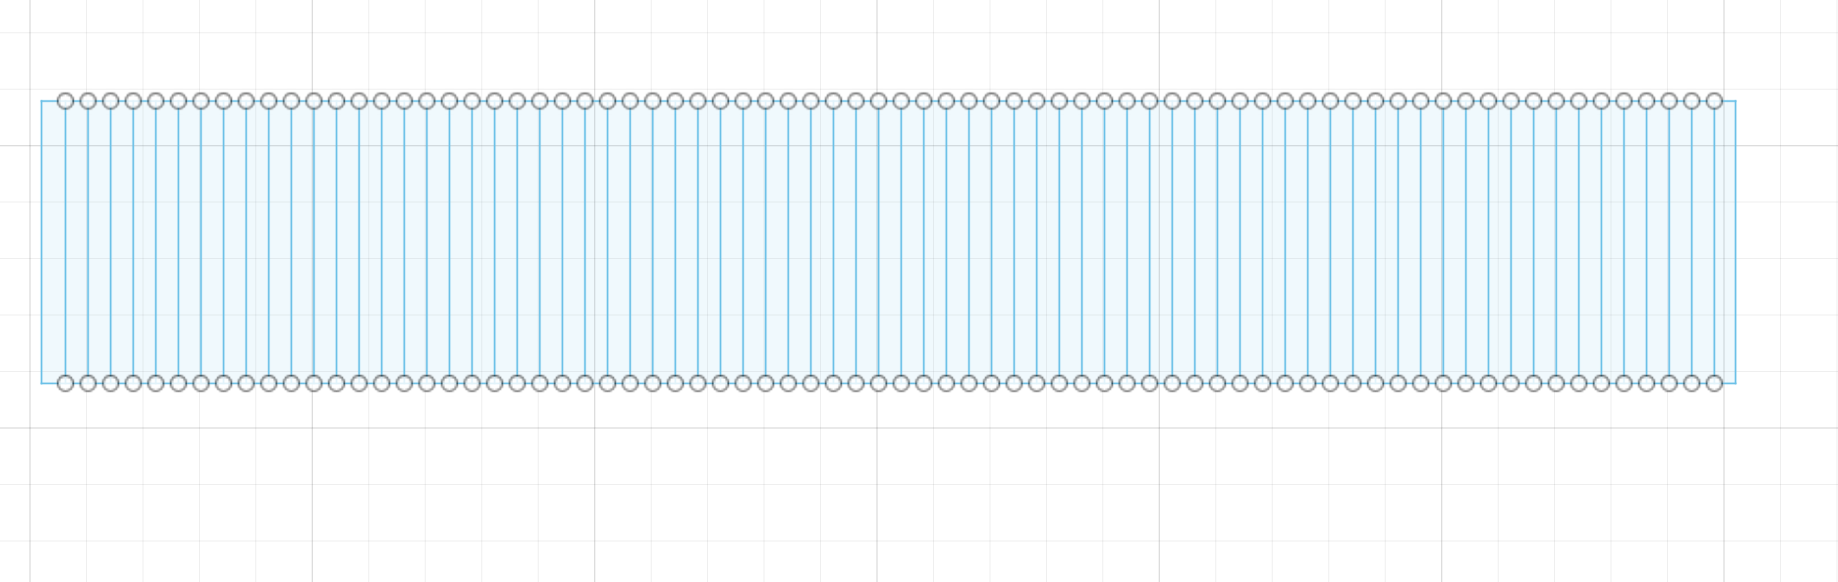
Finally, as a finishing touch, I wanted to test out making bendy cardboard for a bow on the lid. I eyeballed how long the strip would have to be using masking tape, then scored lines 1mm apart for the length of the strip. I really struggled with getting the power right for the engraving setting of the laser cutter, but after several tries (6), I had two strips that were appropriately bendy. On two of these attempts, I failed because the direction of the inner cardboard was going the wrong way, so the top layer of cardboard completely came apart after being engraved. I used the 4 failed pieces as the "ribbon" parts of the box (just hot glued it down flat on the lid).
Assignment 2: Fusion 360 Tutorial
For this part of the assignment, I followed this tutorial on making painter's tripods. This was super helpful for the last part of the assignment, as I had no idea how to loft things (or use the 3D modeling functions).
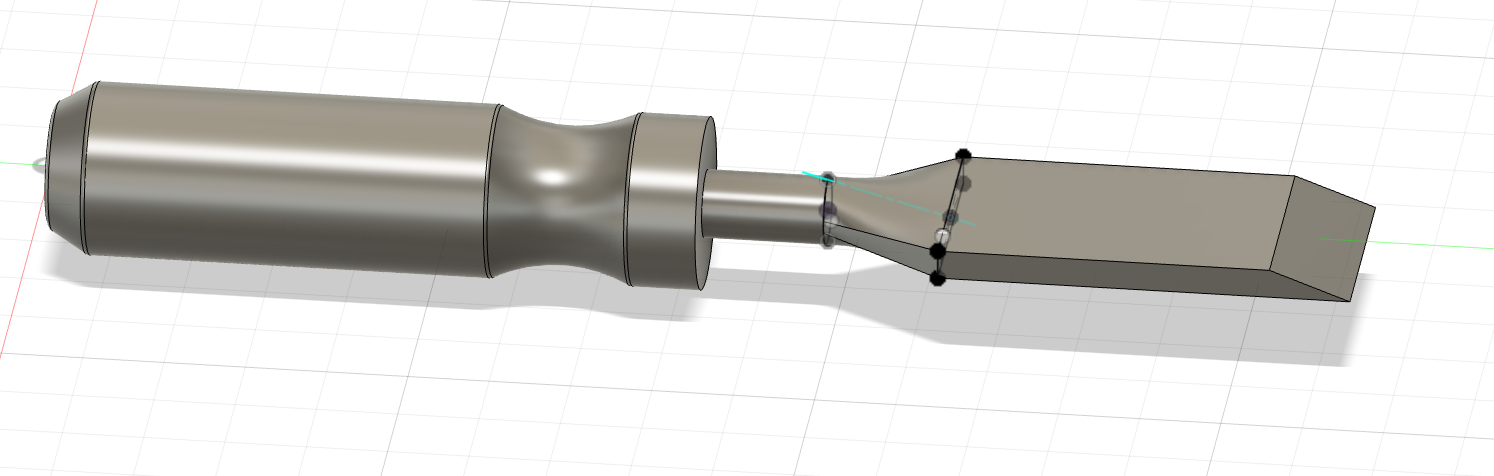
Assignment 3: Fusion Modeling
For the last part of the assignment, I measured the dimensions of a chisel in the PS70 shop as well as my (knockoff) Apple pencil. I then modeled both in Fusion 360 (with lots of help from google and random youtube videos). The chisel was a lot easier to model than I thought--the handle's connection into the chisel part of the tool was really easy because lofting can automatically create the shapes.
The knockoff pencil was actually a lot more frustrating to model because of the little facet on the top of the pen. I eventually just extruded a little negative layer on the top of the pen, but I'm not super satisfied with the little bit of uneven-ness on the edges of the oval.
